The Sides
Planing
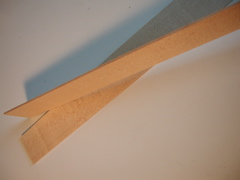 These are the thicknessed sides. They are slightly thinner than the last mandolin to hopefully make for easier bending. These sides definitely were faster to bend and split very little from bending, although some of that is probably due to experience from bending the first mandolins set of sides.
Bending
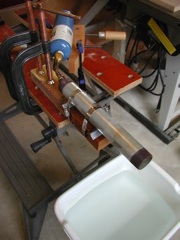 I used the same basic bending iron setup as I did for my last mandolin. The technique was also the same except I didnt need to add the compound curves which made the last mandolin a bit more complicated. The compound curves arent much more difficult to bend, but getting them right took longer and was more awkward than it was to bend this set of sides.
Cool Down
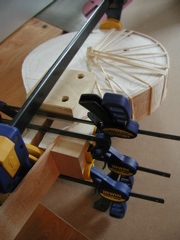 I secured the sides onto the form to dry and cool. This was much easier with the center dowel system I used. It allows it to easily be a one person job to secure the sides as opposed to using large rubber bands stretched across the whole body. That method took at least two people, one to hold the side in place and the other to stretch the rubber band. With the center dowel and some small rubber bands, I could hold the side in place with one hand and stretched the rubber bands over the top side of the peg, around the rib, and then over the pegs other end sticking out of the forms bottom. I used small, light-duty rubber bands, but heavier ones may be more appropriate depending on how close your bends are to the shape of the form. With the rubber bands I used, even with quite a few, I still had to use a caul and clamps to secure the ends of the sides where there are sharp bends that the rubber bands couldnt pull tight. I used the piece I had cut from the head block in the same area since it was already the right shape. I also added a clamp down the center to hold the tail end tight to the tail block. I used the same clamping setup later for gluing the sides to the blocks.