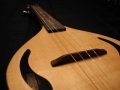
The Neck
Side Profile
The first step is to bandsaw the rough side profile using a paper template as a guide.
Peghead Ears
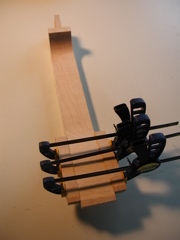
 I had to glue on ears to make the full width of the peghead. Even though it wouldnt be too wasteful to use a solid piece, I went ahead and went this route again. I was careful to line up the grain on the peghead ears and the neck so it looks the same in the light. On my last mandolin the ears appear different colors in the light because of the way the grain is oriented. To make both pieces of wood look the same I matched the grain direction in both pieces. This meant cutting the ears at a matching angle from the separate piece of maple they were taken from. This wastes some wood, but makes for a more though through and professional appearing final product.
Tuner Holes
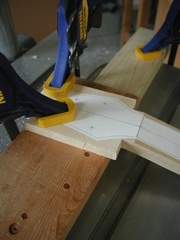
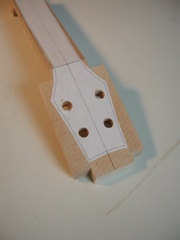 I first carefully centered the top paper template. I used this template to drill holes for tuning machines before cutting out the top profile for an easier job of holding the peghead down securely.
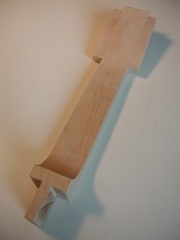
Top Profile
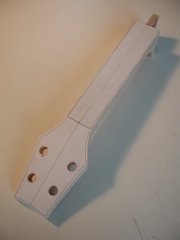 I cut out the top profile and sanded it smooth. On this mandolin, I took my own advice and left all the carving on the neck for after I assembled the entire body. This worried me a bit since I would have to carve the entire neck when it is glued in place to the body. The upside is that this is a more efficient way to carve the neck as opposed to carving it twice, the first time not having the reference points needed to bring the neck to the correct size and shape.