Setup
Bridge
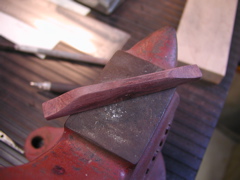
 I started by making a rosewood blank just large enough to fit the bridge. I began to create the bridges shape by first marking out the side profile of the bridge on the blank and then removing the majority of the unneeded material with a bandsaw.
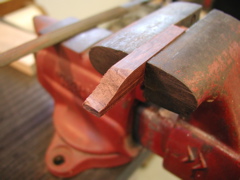 I used a microplane and a wood rasp to refine the side profile with the bridge clamped in a vise.
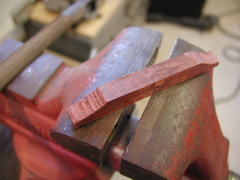
Once I was satisfied with the side profile, I marked out the top profile. I should definitely point out that the top profile of this bridge is actually backwards from the top profile that will give the correct intonation for all of the strings up the fretboard. I though about which way it should go and looked at other mandolins and I still got this backwards. The bridge should be laid out so that the e-string side is about 1/8th of an inch closer to the fretboard than the g-string side of the bridge. The top section of the bridge is about 1/8th of an inch wide all the way across. A fully compensated bridge like those found on f5 mandolins would be even better for intonation, although it wouldnt necessarily work with the styling of this bridge as well.
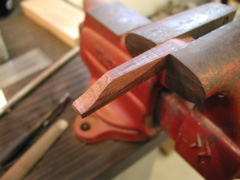
I used a rasp to cut the top profile by carving the sides so they curve up to the top layout lines. I hand sanded the bridge smooth then cut in the notches that would hold the strings in place over the bridge.
Gluing on the Fretboard
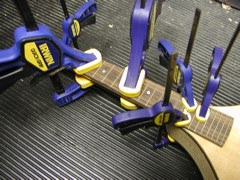
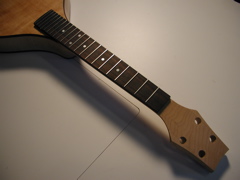
Since the pins were already installed to align the fingerboard, it was a very simple glue up using wood glue. I held the fretboard in place with a bunch of quick grip clamps all along the neck and over the body for even pressure.
Final Steps
I installed the tuners with the included hardware. This included small screws which I had to pre-drill for. These screws stop the tuners from spinning. With the strings in place, I could finish fitting the nut and adjust the height of the bridge. I lowered the height of the bridge by removing material from its bottom surface only. Unfortunately, you cant raise the height of the bridge, so take your time with this step. The nut is simple and reasonably easy to set-up on the mandolin, as long as you dont rush the process. Read how I made the nut and the tailpiece pins for this mandolin on my first mandolins set-up page.