The Back
Jointing
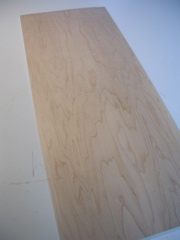
 I resawed and planed the two halves of the back then jointed the center joint with a hand planer. A longer plane would be more effective for this job.
Gluing the Joint
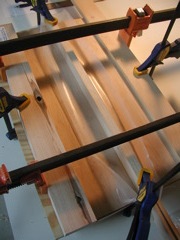
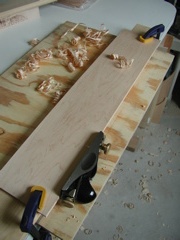
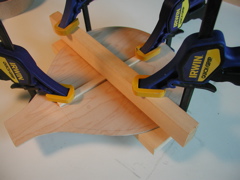
 I glued the back together with wood glue using the rig pictured. Once it was dry, I planed the top to its final thickness and cut out the top shape with plenty of overhang. I didnt round the button end since the neck hadnt been carved yet and was itself still square.
Back Braces
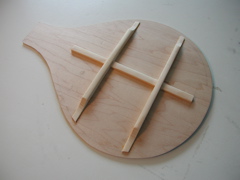
I made the center joint reinforcement out of one piece for this mandolin and glued it on first using a clamp at either end and a set of wood braces used to clamp the middle postion of the brace. I then notched and glued on the cross braces again using a board to keep everything flat while the glue dried. The ends of the lateral braces were carved down using a wood rasp.
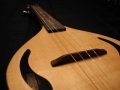
Label
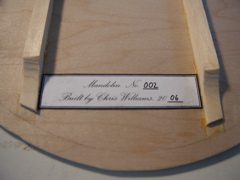 I made up another custom label that matches the label on my first mandolin, except for the number of course. The label is positioned under the bass side sound hole and reads:
Mandolin No. 002
Built by Chris Williams, 2006
Warping Problems
After only a few hours after the cross braces were installed the back warped. This warp was much worse than on my last mandolin, which I was able to make work (although it may also have lead to a rather large crack in the back of that mandolin, so I wouldnt say the braces didnt cause a problem for my first mandolin.) It makes sense that this would happen. Because of the cross grain orientation of two different types of woods glued together, Id expect them to expand and contract at different rates. I dont know why this isnt a problem for guitars or what guitar makers do to prevent this issue.
Warping Solution
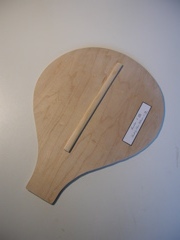 My solution to the problem is not very elegant. I just started to remove wood from the top of the lateral braces using a thumb plane hoping this would relieve the tension. I kept doing so until the lateral braces were almost the same height as the center brace. At this point I decided to remove the lateral braces completely using a chisel to slowly par away the braces and scrape the back clean. I used sand paper to clean up the surface eventually leaving only the center brace. I did this without removing the label. At about 1/8th inch, thick the back is plenty strong without the lateral braces especially considering the problems they caused.