Assembling the Body
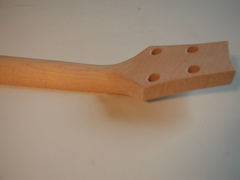
Gluing on the Neck
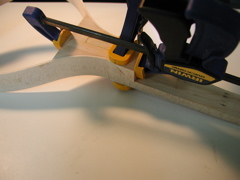 Besides the awkward way I had to clamp the neck to the head bloc, this step went very smoothly. Although the joint wasnt as tight as I would have liked for strengths sake since I used wood glue, it did make the job easier and was still plenty strong. My last mandolins joint was so tight I couldnt get it together with glue on it even though I was able to dry fit it.
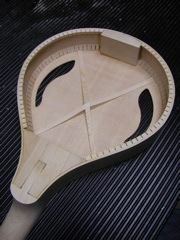
Kerfed Lining

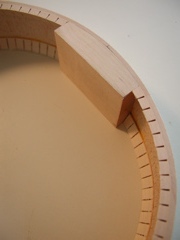 I added the kerfed lining one side at a time securing each of the pieces with clothespins, then removed the excess lining using a sanding table.
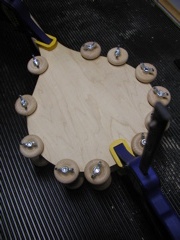
Gluing on the Top and Back
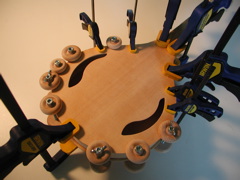 I glued on the back and the top in one glue-up. To help me get even clamping pressure all the way around the top and back, I made more toy wheel, bolt and wing nut spool clamps for this glue up. I also added a number of other clamps to secure the head and tail block areas and fill in where needed. I used liquid hide glue for this initial glue up so the top and back could possibly be removed later. Little did I know that later would come sooner than I thought.
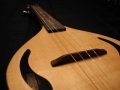
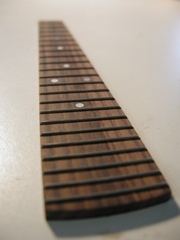
Shaping the Fretboard
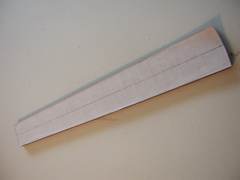 Fretboard was cut to final size using the belt sander and a paper template so I could use it to carve the neck. I brought the fretboard right to the line on the template. I was also able to add the inlayed position dots. I did these exactly the same way as on my electric mandolin project.
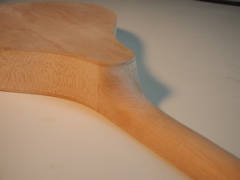
Carving
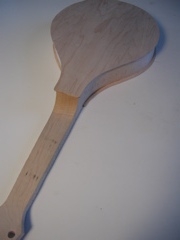
 I carved the neck down to its final dimension using the fretboard attached with small pins drilled into the top of the neck for the top profile. I also carved the heel of the neck to the correct size and created a smooth transition between the neck and body. I removed more material from the neck to peghead area on this mandolin which made for a much nicer transition. I was also able to carve the top and back flush with the body even though this wasnt a necessary step. I was thinking of possibly skipping the binding at this point, so I went ahead and carved the top and back mostly flush even though binding would make that unnecessary. Since this mandolin doesnt have angled sides, it would also be possible to use a flush cutting router bit to do this same job. If your going to use a flush trim bit though you might as well go ahead and route the binding instead and save a pass on the router. The only reason I didnt route the binding right off was because I was still trying to put off the seemingly scary step.
More Back Pains
 Most likely due to a hot garage, old glue, high humidity or a combination of those factors, the back partially came apart from the rest of the body. I was rather annoyed when this happened and was thinking at the time that I would skip this whole aggravating part of the story altogether. This problem along with stalling as far as how to do the binding led to the two month hiatus before I finally finished the mandolin. To reattach the back I started by removing it the rest of the way by heating it with an iron. I cleaned off the old glue form both the back and the rim then (re)glued the back with wood glue to ensure it wouldnt go anywhere. I used mostly spool clamps for this (re)glue-up and supplemented again with quick-grip clamps for the tail and head blocks. This was a bit trickier to line up since I had already carved the side about flush with the sides. Since I was planning on binding the sides, it didnt really matter that I was a bit off though. The only casualty that resulted was a slight gap between the two halves of the back which opened up when I was applying heat to remove the back.
Fretting
 At this point I could fret the fretboard. I did this the same way as I described on the set-up page for my first mandolin.