Finishing
Prep Work
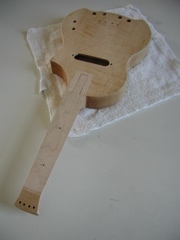
After removing all of the hardware I had been fitting it was time to sand the surface smooth using up to 240 grit sand paper. I also rounded over the edges of the body to a slight radius with needle files and sand paper.
Taping
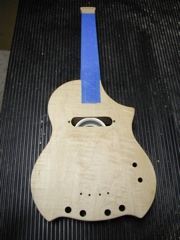 I taped off where the fingerboard would be glued using blue painters tape. This included the entire top surface of the neck and on the body where the fingerboard would be glued. It only took one layer of tape and the top of the neck stayed completely finish free. I didnt bother to tape off the cavities. It may be a good idea if you plan on using a liquid shielding paint to coat the inside of the cavities.
Finishing
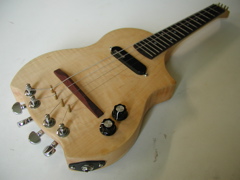
 I was planning on using a finish and stain combination that would bring out the figure of the maple. I tested a few options, but none really did what I was looking for. I ended up going back to wipe-on poly, the same finish I had used on my first acoustic mandolin. You can see how I applied it on the Mandolin No. 001 finishing page: I used the same basic technique. A few changes: I used three coats this time instead of four. I also waited for the last coat to dry overnight before doing the final light rubbing with 0000 steel wool. I used a pvc plumbing fixture (visible through the pick-up opening) to keep the back off the table while drying so I could apply coats of finish to the entire surface at one time.