Making the Body Blank
Glueing up the Back
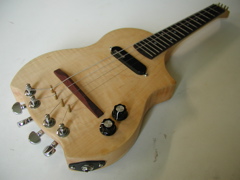
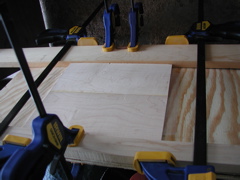 The electric mandolin was made of four separate pieces of maple to create the complete body/neck blank. These include the two halves of the book-matched back, the single piece main body, and the neck. I started by resawing and planning the back halves and joining them using the rig at the left. The pieces were glued with wood glue and clamped up.
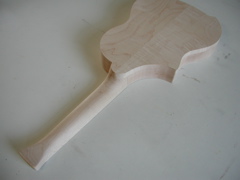
The Neck and Body Blank
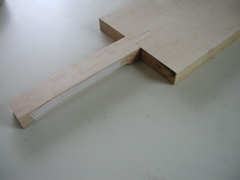 Once I cut the neck and body roughly to size, I used a tenoning jig to cut the matching mortise and tenon in both blanks. Before gluing the neck to the body, I also cut out the necks rough side profile on the band saw and sanded it into shape. I used wood glue again to attach neck to body. After they were attached, I was able to use the back as a stable platform while cutting the top profile of the neck.
Attaching the Back
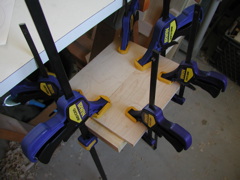 This is the part where flamed woods made my job much harder. I tried to surface plane the mating surfaces of the back and body, but this created a lot of tear-out due to the wavy grain of the flamed maple. Without access to a thickness sander, I did my best using the belt sander free hand. It wasnt easy to keep everything flat, but I was able to get it close enough to work.
Shaping the Body
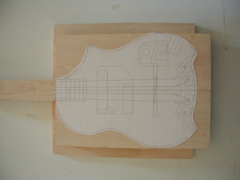 With the blank complete, I attached a paper template with a glue stick and cut out the rough shape on the band saw.
 Before doing any finish work on the shape, I aligned and secured the fretboard with small copper wire pins so it wouldnt move. The fretboard had already been cut and sanded to its final shape (you can find more information on the fretboard on the fretboard page.)
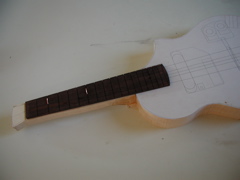
 The fretboard could then be used as a guide to shape the neck. I also smoothed the sides of the body with a spindle sander at this point.